
Drivers
You can manage the persons who may drive the customer’s vehicles, their IDs, as well as the relations between drivers and IDs. Each user can only see and modify his/her own drivers.
You can also perform searches on this interface. Under each table there is a search box that searches at least in the name column, but also for example in the “Identifiers” tab and in the “Comments” and “Serial number” columns. If you have permission to do so, you can also search in the “Customer” column.
If the driver identifies himself in some way, the driver's name appears in the route list and the tracking window. Devices for the identification of the driver:
- RFID
- Keyboard
- Bluetooth
- Mifare RFID
- 1-wire
- Tachograph
Manage staff
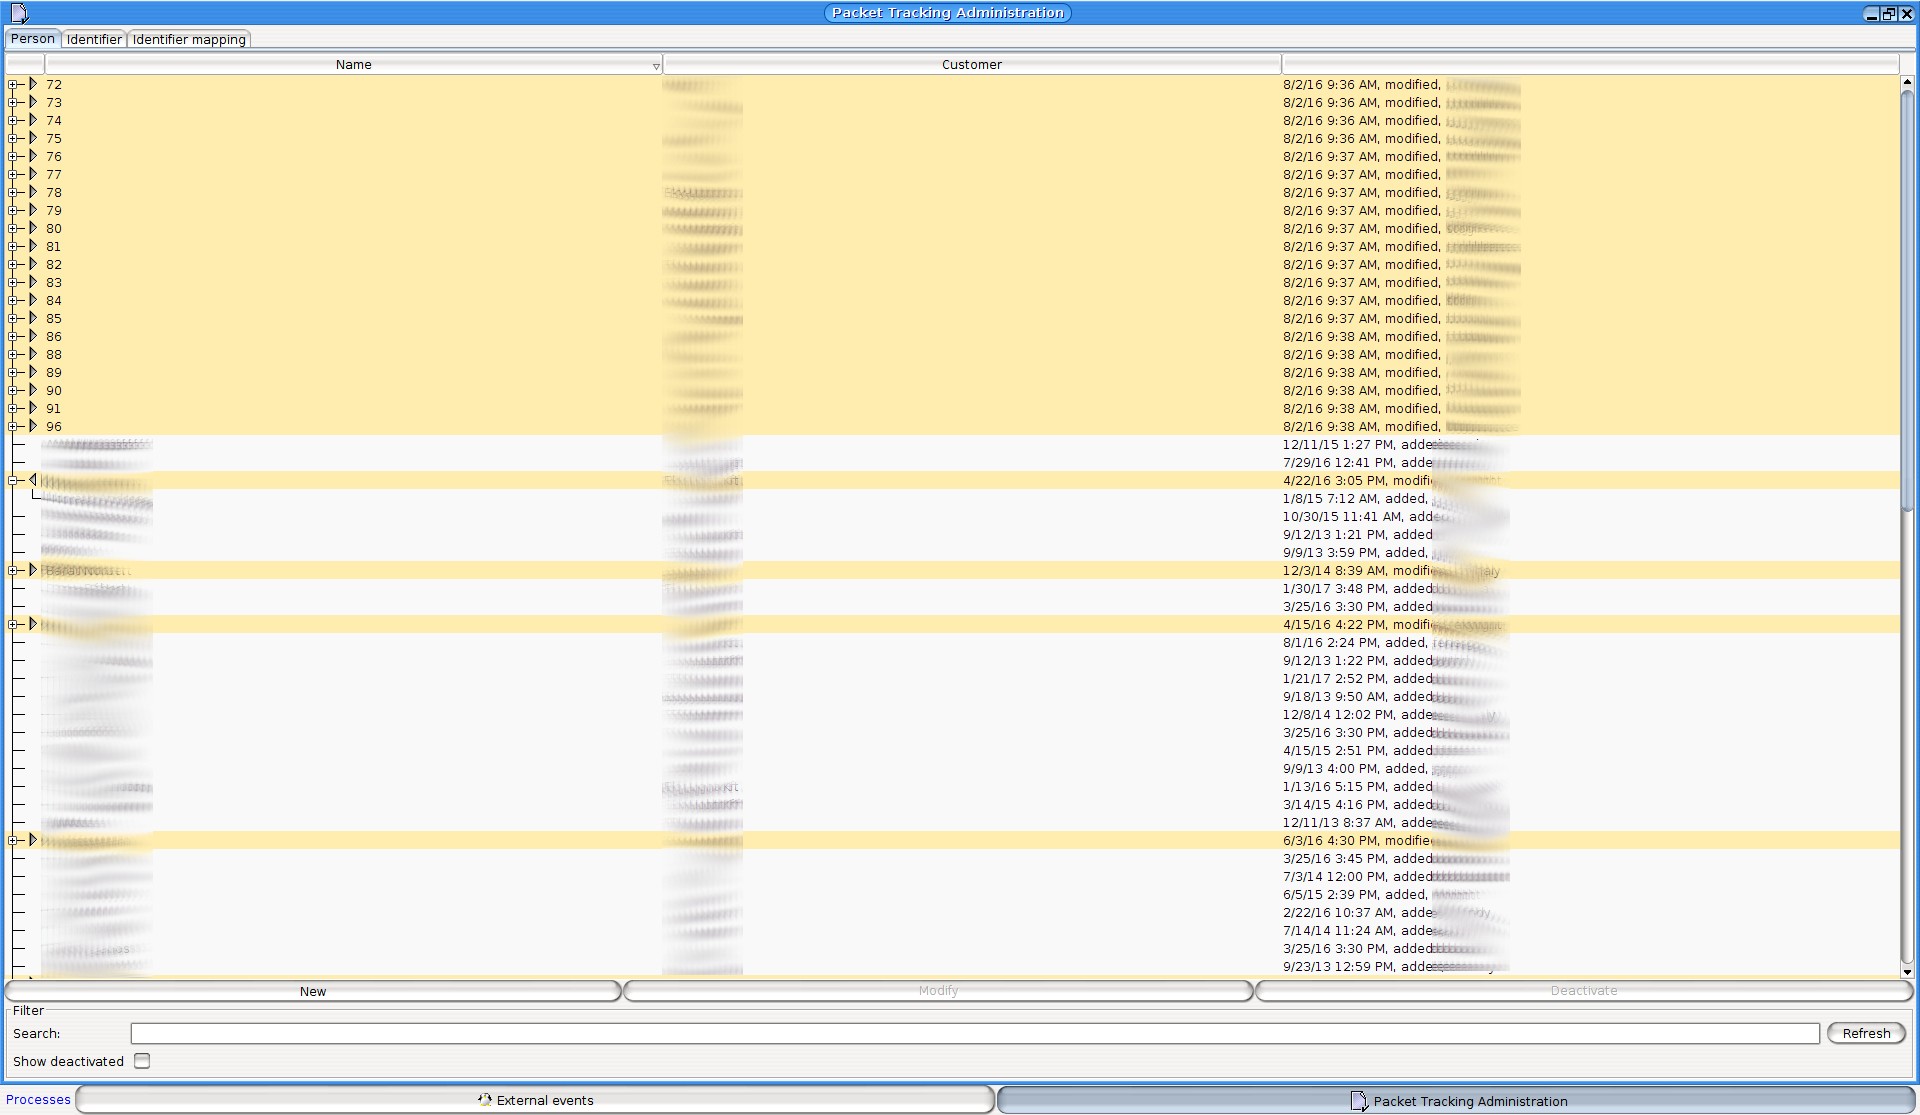
The driver list can be edited with the New, Edit and Deactivate buttons.
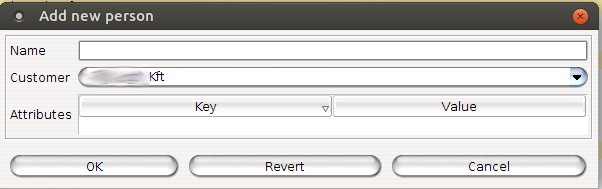
When creating a new driver, you can only specify the name of the driver. You can only select a customer if your permission allows it. The “Change” button can only be used to change the name and the customer. The “Deactivate” button can be used to deactivate the selected driver. Deactivated drivers can be re-activated at any time; checking the “Show deactivated” option is very useful for this operation.
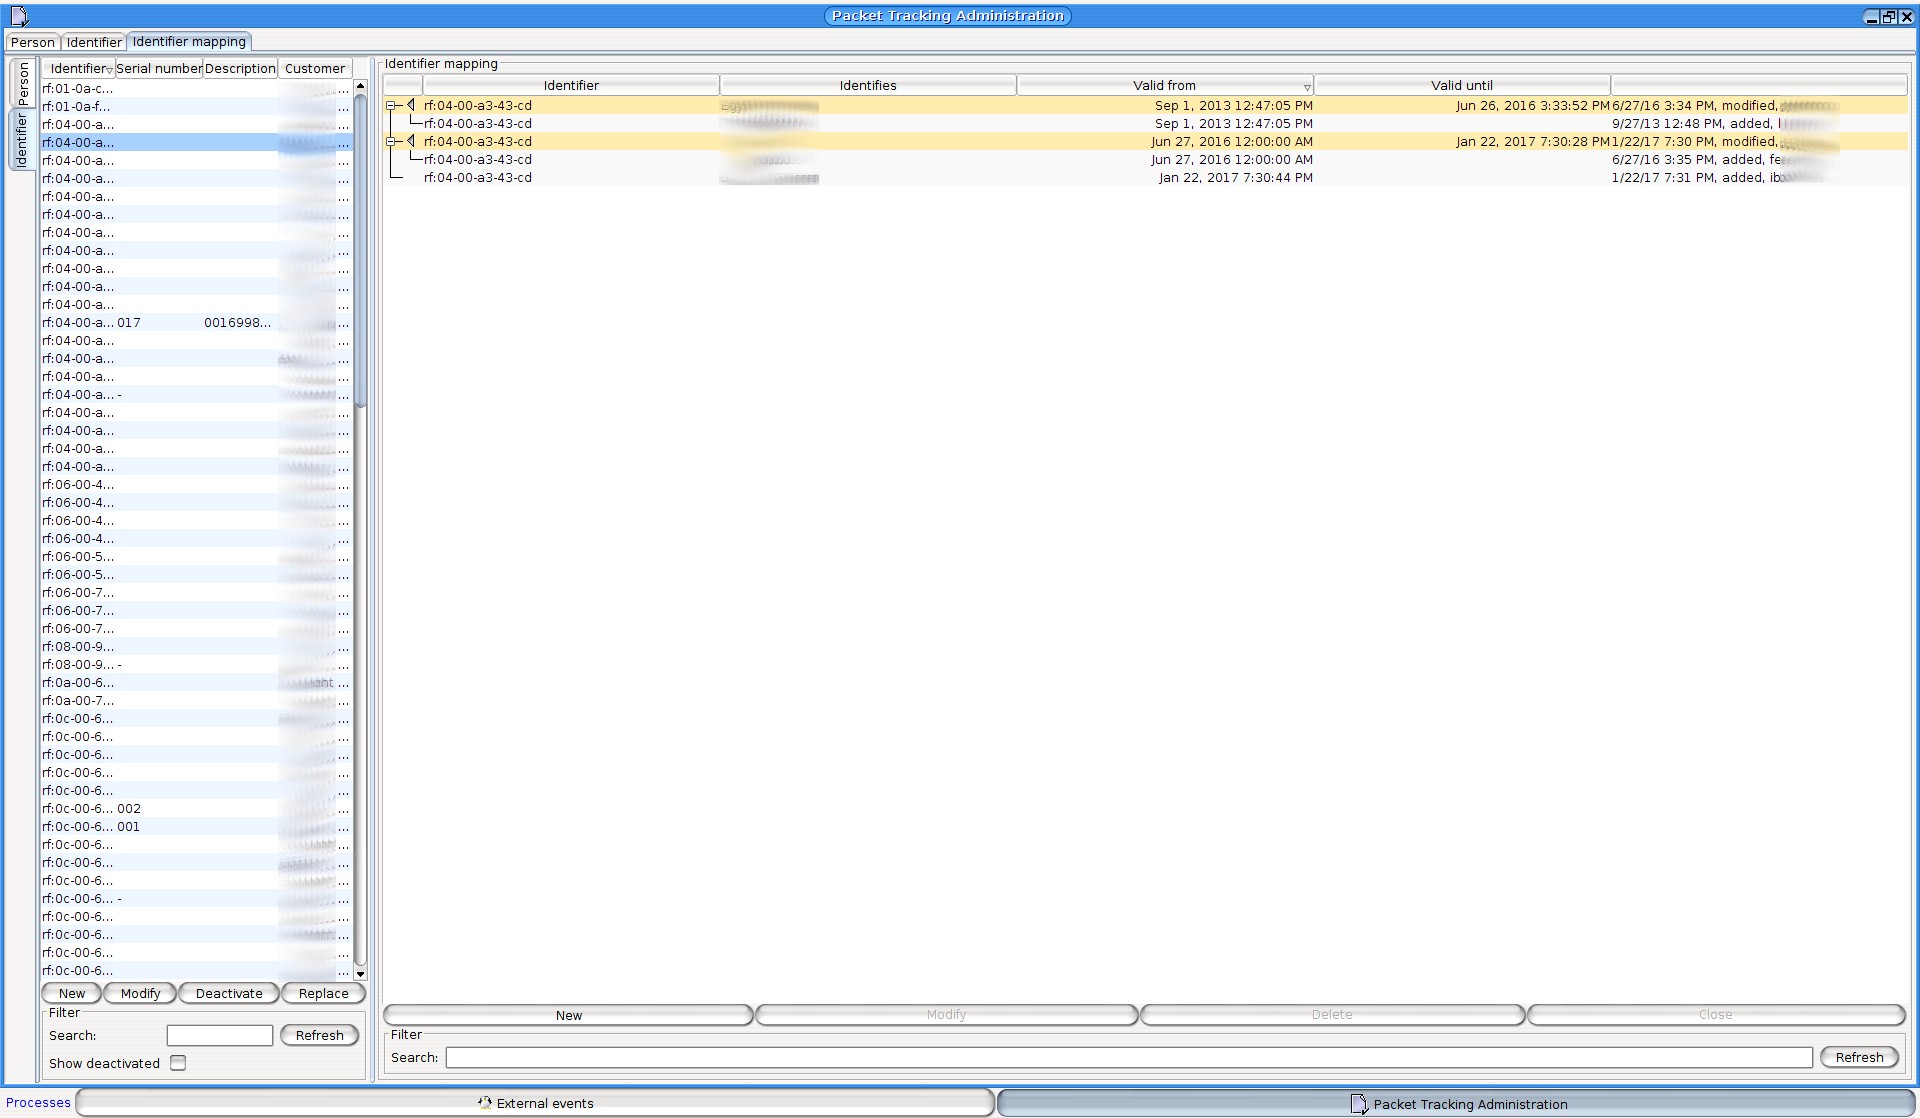
Identifier
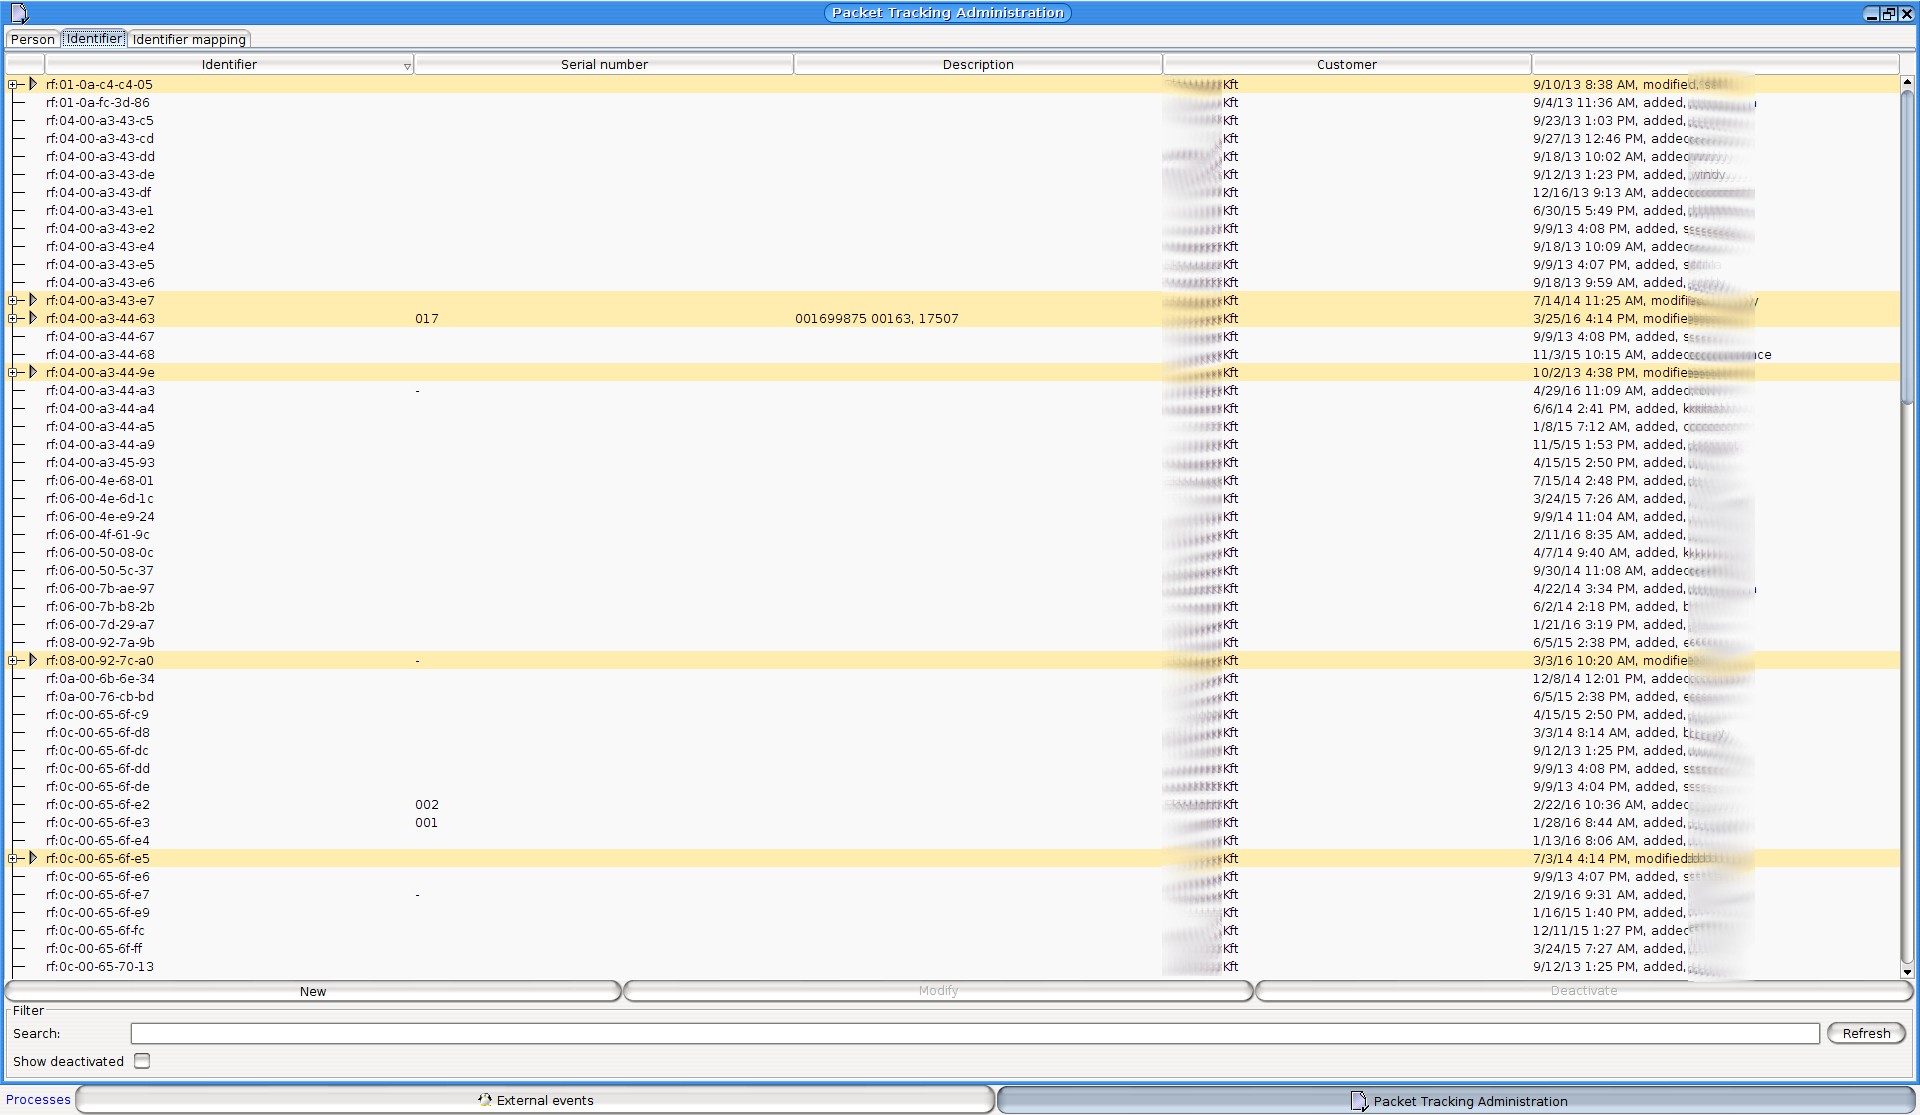
The identifier consists of two parts separated by a “:” character. <type>:<code>. The type can be: kb (keyboard), rf (rfid), bt (bluetooth), m4 (mifare rfid), 1w (1-wire), tg (tachograph). The code will identify the driver. (e.g. for identification with keyboard, if the code is 1234, then the identifier will be kb:1234)
For the serial number you can enter the physical serial number written on the ID (usually completed by customer service)
You can enter additional information in the Note field.
You can change any data of the ID with the “Chage” button (if you have permission to do so). You can revoke the validity of unused IDs with the “Deactivate” button. It the identifier is associated with an active driver, it will be immediately withdrawn from him (validity will be ended). Deactivated IDs can be re-activated at any time
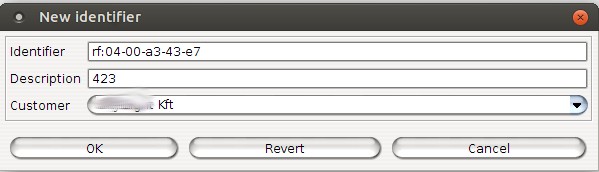
When recording new IDs, you can enter the identifier in the format described above and a note, and if your permissions allow, then also the serial number and the customer.
ID assignment
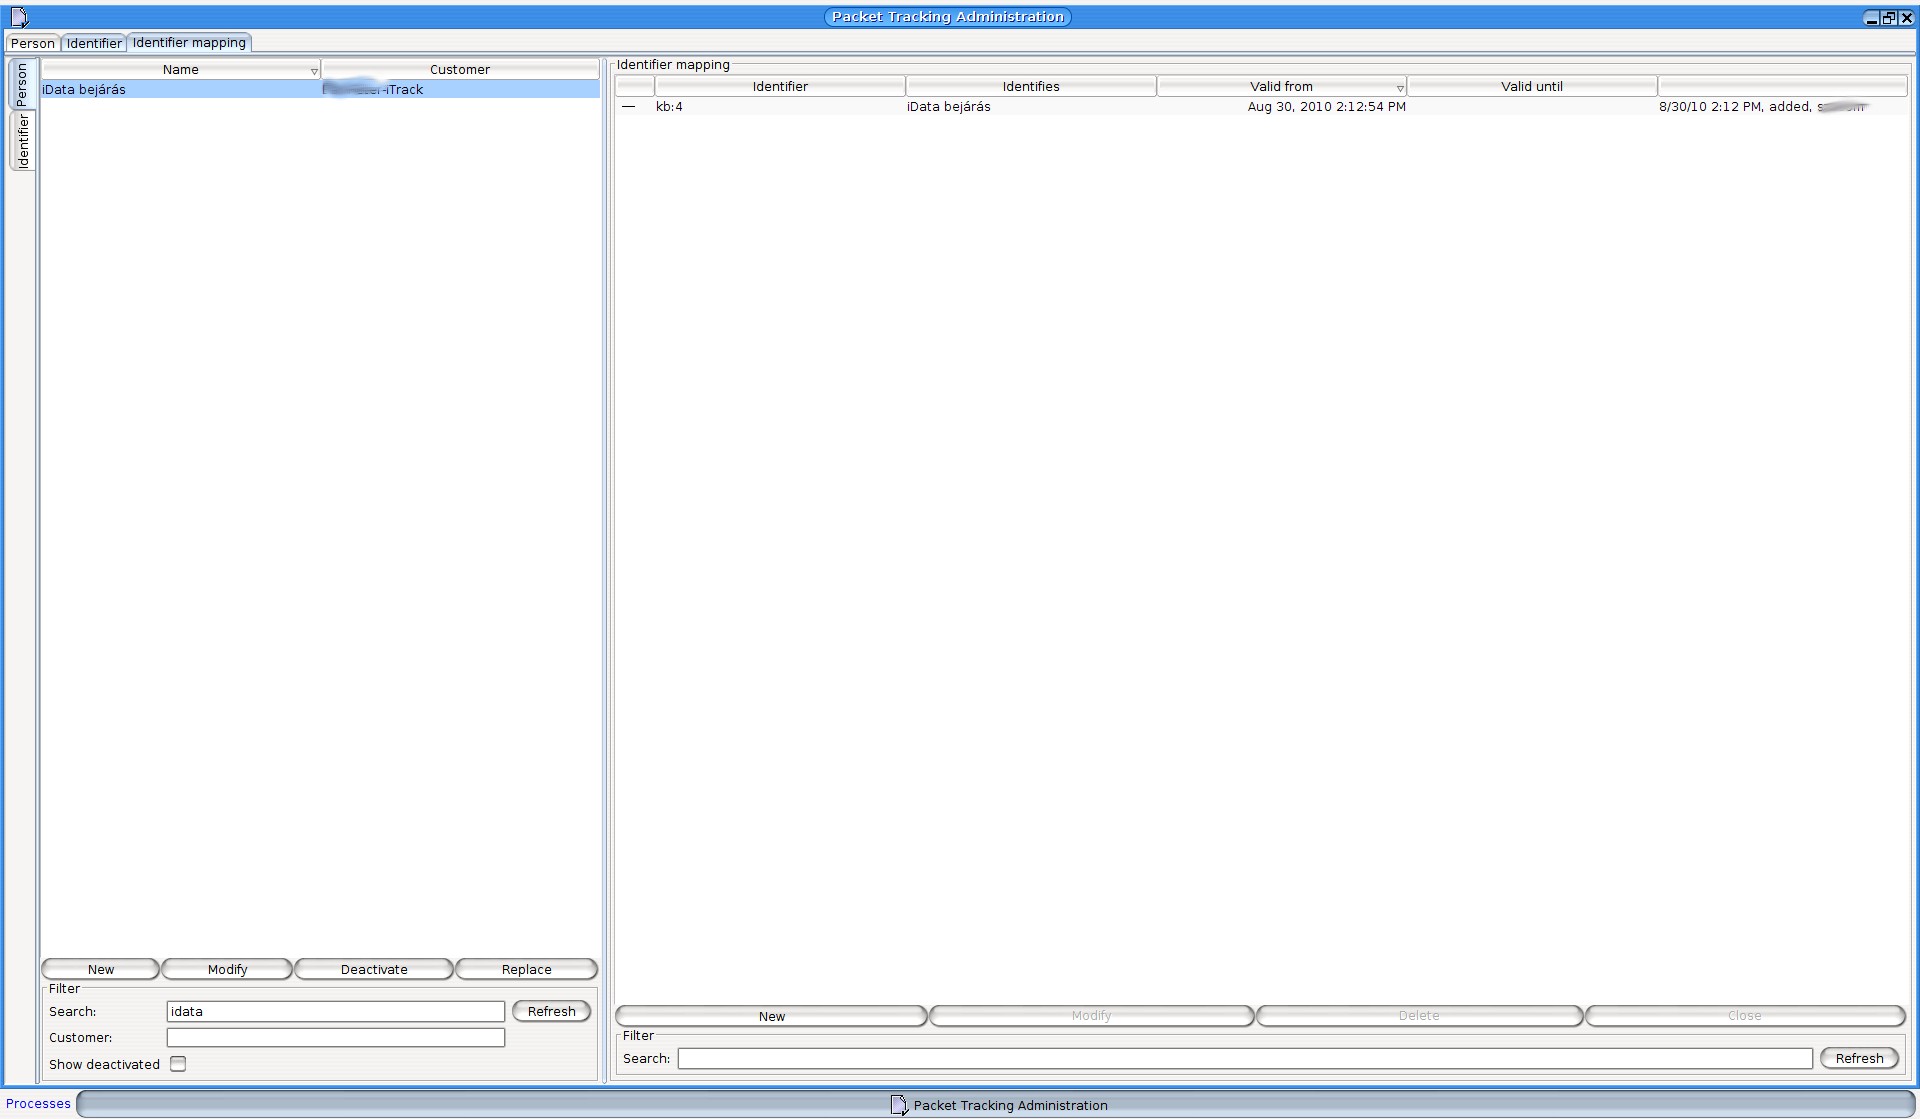
When assigning IDs you can create new drivers in the “Person” section with the “New” button (just like in the “Person” tab). The other buttons work the same way as well. And you can replace the current ID of the driver with the “Change” button.
When assigning IDs you can create a new ID in the “Identifier” section with the “New” button (just like in the “Identifier” tab). The other buttons work the same way as well. And you can replace the driver assigned to ID with the “Change” button.
You can assign one or more IDs with the “New” button in the “ID assignment” section to the driver (selected in the “Person” section). You must exactly specify the starting time of validity down to the seconds (the program offers the current time, but may specify an earlier date as well). You don’t have to give an end date for validity (the program offers the option of no expiration). Each data can be changed. You can delete the selected assignment with the “Delete” button, and you can assign the current date as the end of the validity period with the “Close validity” button.
(C) Copyright iData Kft., 2005-2022. All rights reserved.
